We had 4 canvases laying around in our basement from a past project for Owen's nursery. They had to come down though because they used to hang above his crib and he thought it was funny to knock them down and watch me slither under his crib to retrieve them. Mama don't play that game.

Tearing the old fabric off was easy. Let me re-phrase that, watching Brent tear the old fabric off was easy.

The plan was to stencil snowflakes onto the burlap with paint and then wrap the burlap around the canvas. These are the supplies we used. Canvas, burlap, paint, stencil brushes, snowflake stencil and a staple gun.

First we cut the burlap to size. I know what you're thinking...that is one gorgeous bolt of burlap.

Sometimes I have extreme moments of genius (I would say often, Brent would say rarely) and in this case, I decided it would be best to do all of the stenciling on the flat piece of burlap first and after it was all dry, we would staple the printed burlap to the canvas. Here's my reasoning...burlap has a very loose weave, I knew when we stamped paint on it, it was going to bleed through and I didn't want the white canvas getting all mucky. Brent laid a giant piece of poly across our dining room table to do the stenciling on.
We wanted to try a test piece first, since this was our first ride on the stenciling wagon.

Picture me singing, dab-a-dab-a-dab dab da dab.

This first one was slow going. Turns out it is actually hard to screw this up. As long as you dab straight up and down and hold the stencil firmly, the paint doesn't bleed under the stencil.


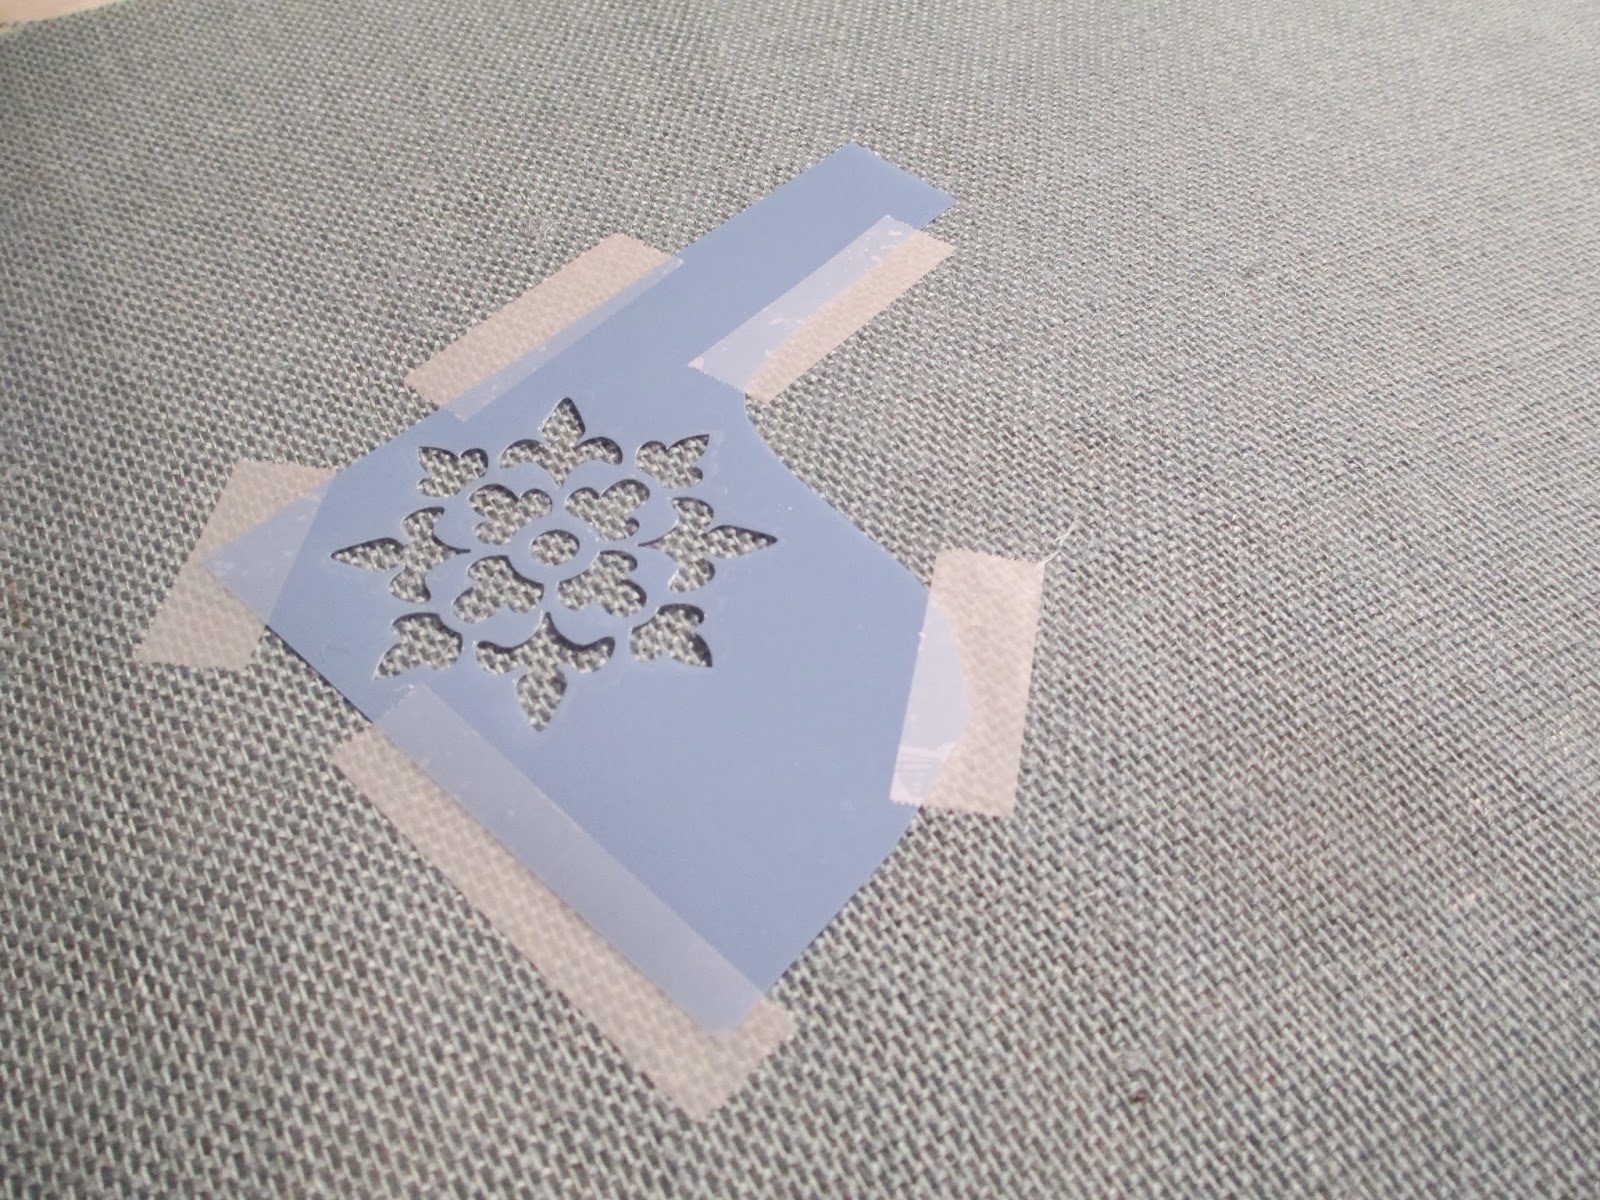
When it was time to move on to the real deal, I was nervous, sweaty, jittery. A lot like my first date, which didn't happen until college. Brent still chuckles at that - I think because he knows what a catch I am. My hands hurt from holding down the first one so I let scotch tape do the work from then on.
While I was working on mine, Brent helped the kids work on theirs. Owen's face doesn't look like that because he is excited about the stenciling. He is a boy and is constantly just yelling random things and making weird sounds - can I get a "what what" from all the other mom's out there that have the pleasure of raising these tiny gentleman!

If there's one thing Brent loves, it's stenciling. And scrap booking. Which he affectionately refers to as crap booking. Brent, you look very manly with that tiny brush in your delicate hands.


Emma eventually came over to assist on mine.


It worked best to apply the snowflakes in layers. I first put white snowflakes all over and let them dry. Next a layer of the blue and then red. We repeated that process with another round of the colors overlapping a few here and there.


When it was all dry, we rolled the burlap over, laid the canvas on top and stapled it tight.

I held the fabric taut while Brent stapled.

I trimmed off the excess fabric when we were done.

And.....BOOM goes the dynamite. Sorry, had to work that in since I just recently learned where that phrase came from.


I know that we could have bought something like this from the store, probably for about the same amount of money, but it's these little projects that the kids have so much fun making with us! You should have seen Emma's eyes light up when she saw it hanging on the wall, she said it was beautiful and was so proud that she got to be a part of its creation. And I'm sure "stenciling" will look great on her future resume! Owen, on the other hand, was mostly unimpressed. Typical.
No comments:
Post a Comment